Precision is Key: The Ultimate Guide to the Right Tile Cutter
A successful tile installation is measured by the quality of the cuts. Whether you are working on a small backsplash or a massive floor renovation, your tile cutter is the most important tool in your arsenal. Using the right tile cutter ensures clean lines, reduces waste, and gives your project a professional finish.
1. Types of Tile Cutters for Tile Installation
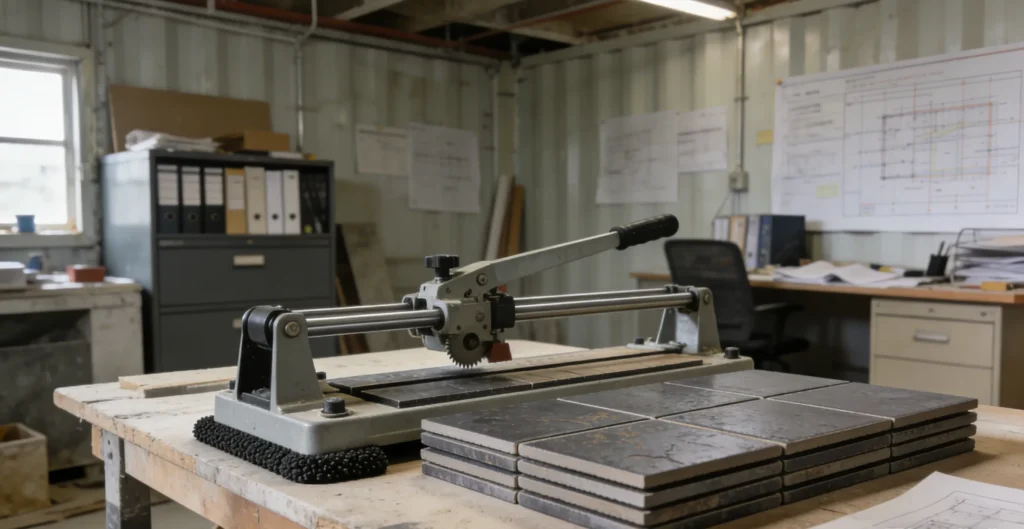
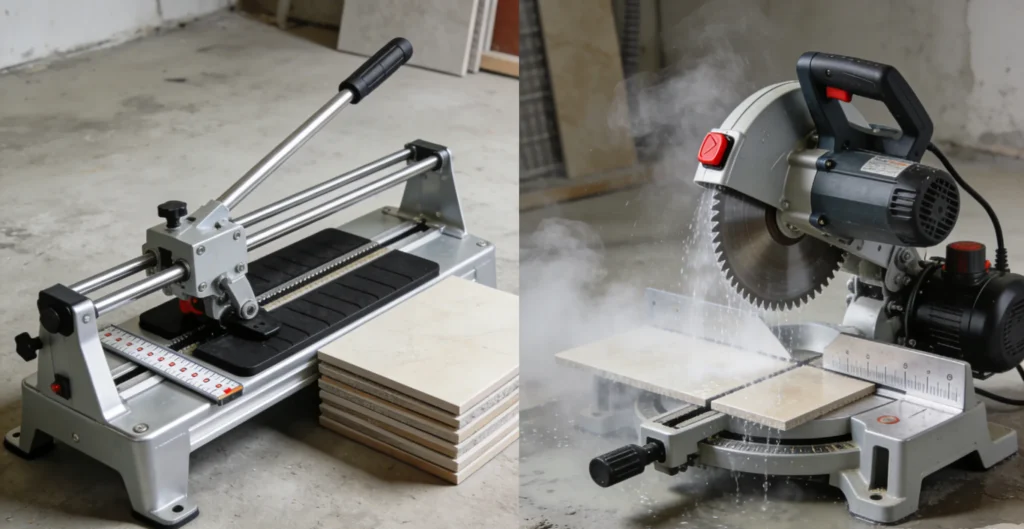
When planning your tile installation, you need to choose between two main types of cutters:
- Manual Tile Cutter: Best for straight cuts on ceramic and porcelain. They are fast, quiet, and don’t require electricity.
- Electric Wet Saw: Essential for intricate cuts, notches, and very hard materials like natural stone. The water jet keeps the blade cool and minimizes dust.
2. How to Use a Tile Cutter Like a Pro
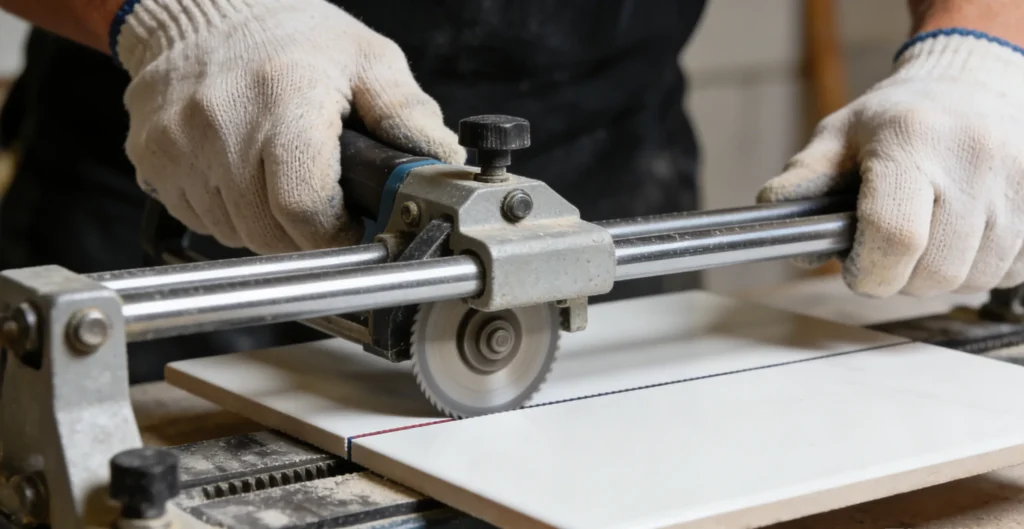
- Measure Twice, Cut Once: Always mark your tiles with a pencil or grease pen before placing them in the tile cutter.
- Consistent Pressure: When using a manual tile cutter, apply even pressure as you score the surface. A single, firm stroke is better than multiple light ones.
- The Snap: After scoring, use the breaking bar to apply pressure until the tile snaps cleanly along the line.
3. Safety Tips During Tile Installation
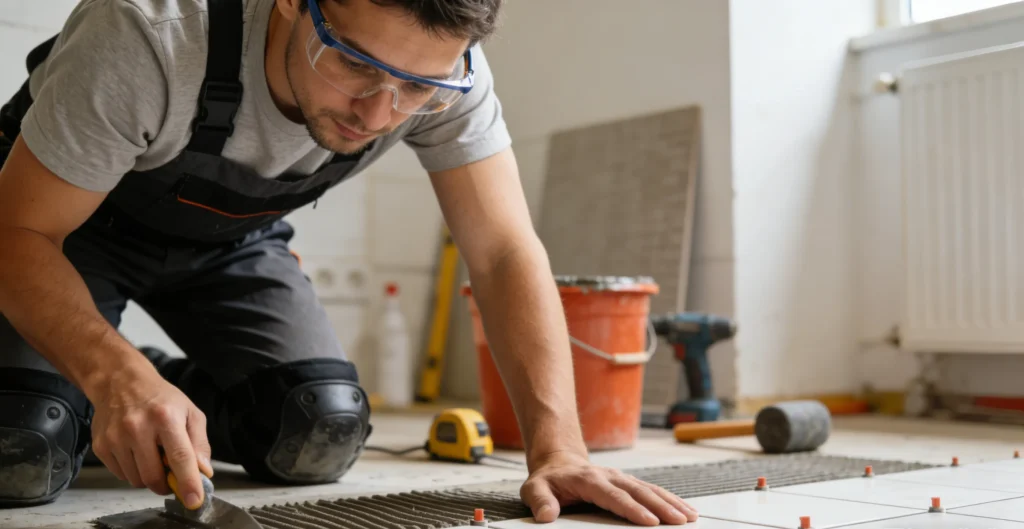
Always wear safety goggles when using a tile cutter, especially an electric wet saw, as small shards of tile can fly off. Professional tile installation also requires a good pair of knee pads to protect yourself during long hours on the floor.