Introduction: The Timeless Contrast of Checkerboard Tile
Checkerboard tile—defined by its alternating two-color square pattern (most iconic: black and white)—has been a design staple for over a century. Its bold contrast and symmetrical layout blend retro charm with modern versatility: it works in vintage kitchens, minimalist bathrooms, or even industrial-style entryways. Unlike busy patterns, checkerboard tile adds visual interest without overwhelming decor, and it’s available in materials like ceramic, porcelain, and even marble-look, making it durable for high-traffic spaces.
Top 4 Uses for Checkerboard Tile in Homes
Checkerboard tile’s classic pattern shines in spaces where contrast elevates design—here are its most impactful applications:
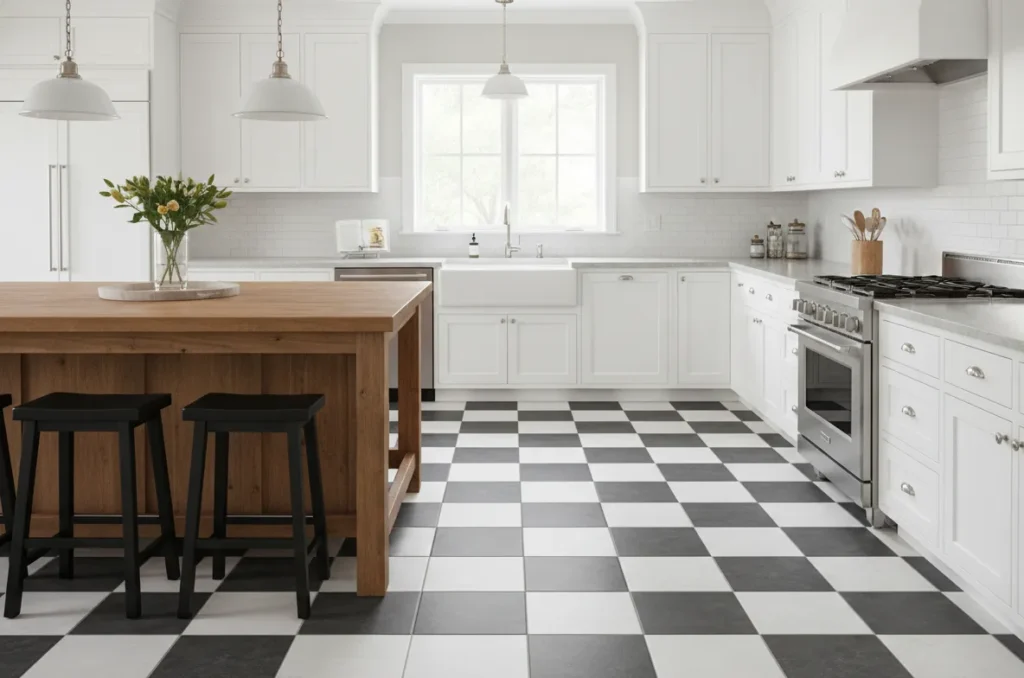
- Kitchen Floors: Black-and-white checkerboard tile pairs with nearly any cabinet color (white, gray, wood) and hides minor spills (ideal for busy cooking spaces).
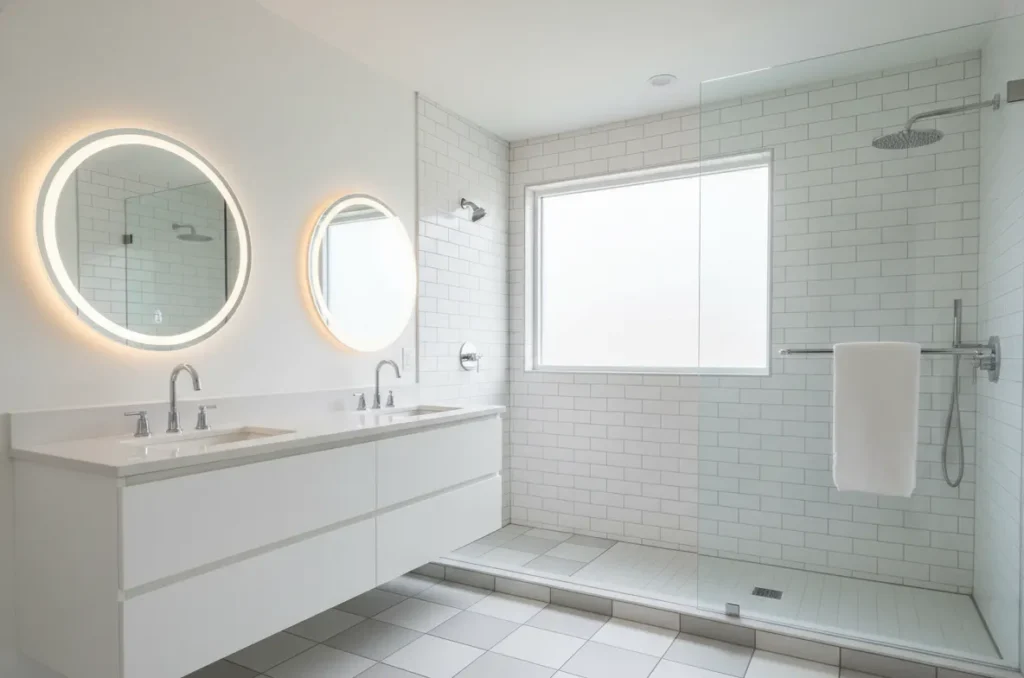
- Bathroom Floors: Adds a spa-like or retro vibe; use light color pairs (e.g., white and soft gray) to brighten small bathrooms, or bold pairs (black and white) for statement spaces.
- Entryway Floors: Creates a welcoming first impression—alternating neutral tones (beige and white) hide shoe dirt, while bold pairs (black and white) make a bold statement.
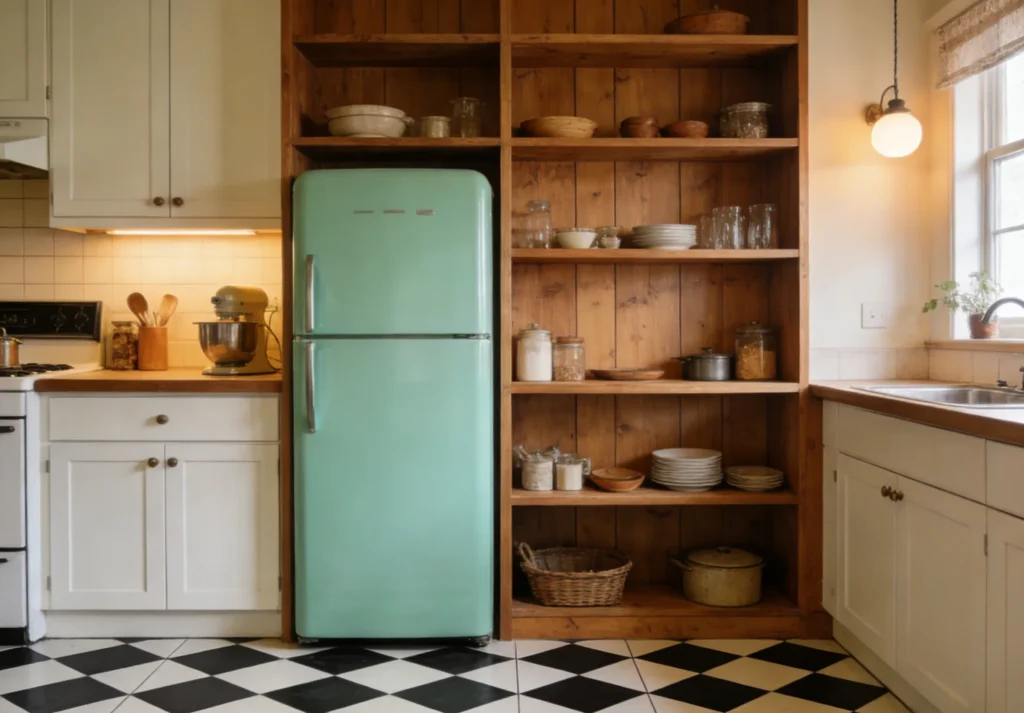
- Retro-Style Rooms: Perfect for mid-century modern or cottage-style spaces; pair with vintage furniture (e.g., clawfoot tubs, wooden vanities) to amplify nostalgia.
How to Choose Checkerboard Tile: Key Factors
Checkerboard’s success depends on color, material, and size—follow these tips to avoid missteps:
- Color Pair: Stick to 2 colors (more = cluttered); classic black-and-white (timeless); white + soft gray (modern, subtle); white + warm brown (cozy, cottage-style).
- Material: Porcelain (best for high-traffic/wet areas—waterproof, scratch-resistant); ceramic (budget-friendly for dry spaces like bedrooms); marble-look (luxury for low-traffic accents like fireplace hearths).
- Size: Small squares (4×4, 6×6 inches) = retro charm; large squares (12×12 inches) = modern minimalism (fewer grout lines, less “busy” look).

Checkerboard Tile Installation Tips (Avoid Misalignment)
Checkerboard’s symmetry requires precision—here’s how to ensure even, clean lines:
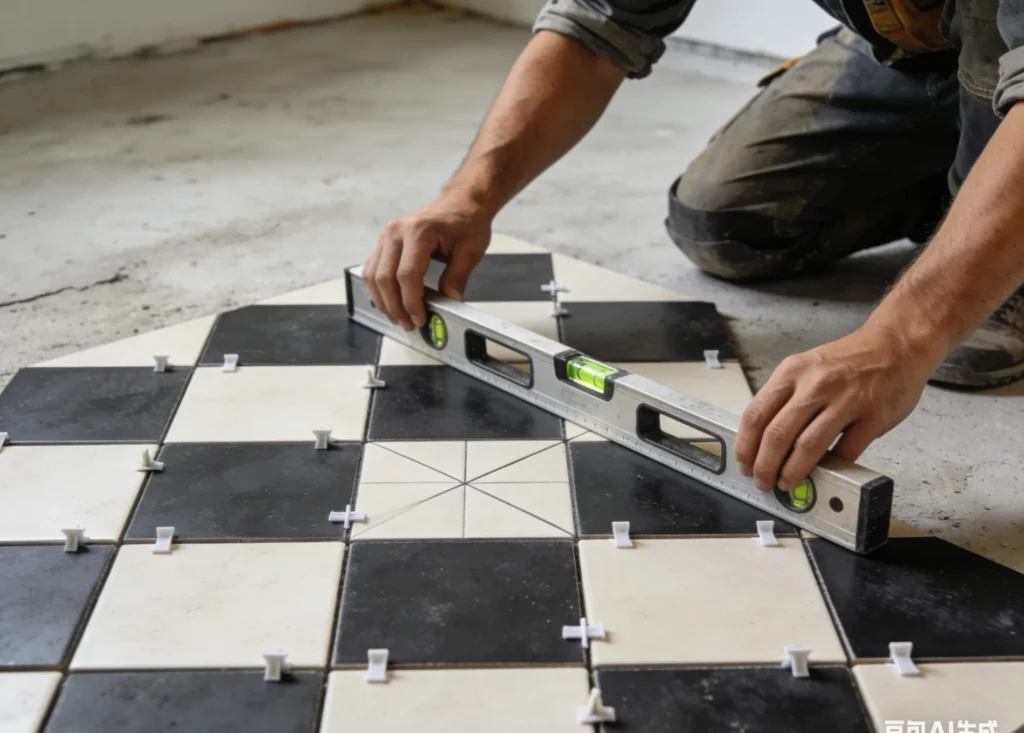
- Start at the Center: Measure the room to find the center point; lay tiles from the center outward to avoid uneven “half-tiles” at walls (creates balanced symmetry).
- Use a Level & Spacers: Check tiles with a level after each row (prevents slanting); use 1/8-inch spacers for consistent grout lines (critical for a neat checkerboard look).
- Grout Color Choice: Contrast grout (e.g., black grout with black-white tiles) emphasizes squares; matching grout (e.g., white grout with white-gray tiles) softens the pattern.
How to Maintain Checkerboard Tile
Maintenance varies by material, but these rules keep the pattern looking sharp:
- Daily Cleaning: Sweep floors with a soft broom; wipe spills immediately (especially on light tiles—dark liquids like coffee can stain unsealed ceramic).
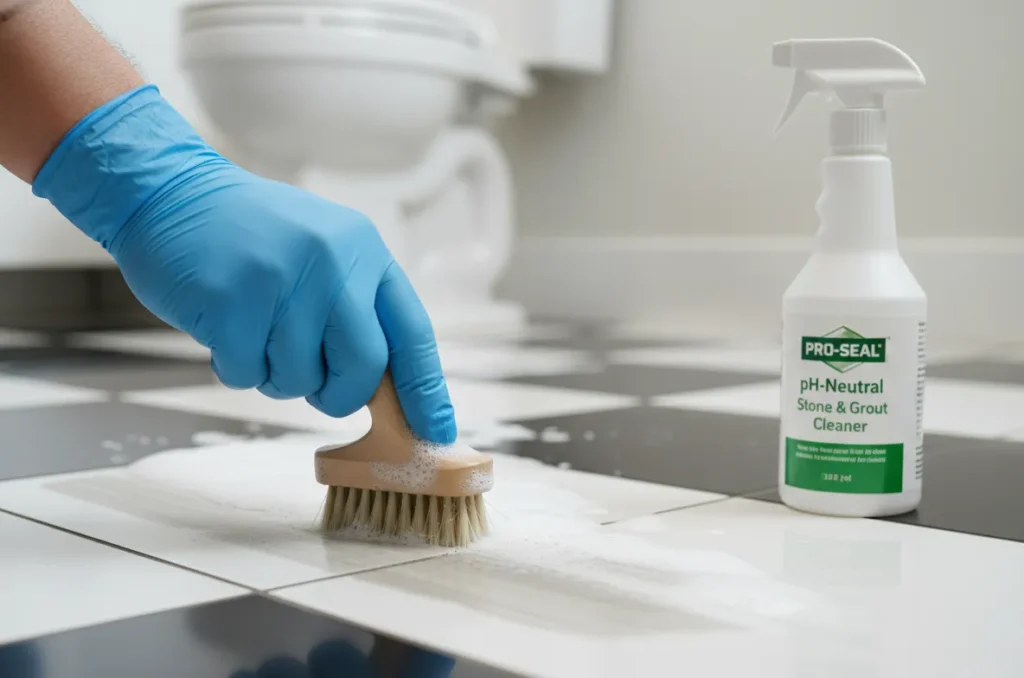
- Deep Cleaning: Use pH-neutral cleaner (avoid bleach on colored tiles—fades color); scrub grout monthly with a soft brush (grout lines are visible in checkerboard, so keep them clean).
- Material-Specific Care: Porcelain: Mop with warm water; ceramic: Seal yearly if unglazed; marble-look: Avoid acidic cleaners (vinegar, lemon) that etch surfaces.
Conclusion
Checkerboard tile proves that classic design never goes out of style. Its simple two-color pattern adapts to retro, modern, and cozy spaces alike, while its durability (especially in porcelain) makes it practical for daily use. By choosing the right color pair, installing with precision, and keeping up with basic maintenance, it adds timeless contrast and charm to any room—whether you’re renovating a kitchen or updating a bathroom.