Introduction: The Modern Appeal of Herringbone Tile
Herringbone tile is defined by its diagonal, V-shaped pattern (inspired by the bones of herring fish)—a design that adds movement, depth, and sophistication to any space. Unlike straight-laid tiles, its zigzag layout creates visual interest without feeling chaotic, making it a favorite for modern, classic, and even industrial styles. It’s available in materials like subway tile, porcelain, and natural stone, and works as both a subtle accent (e.g., a backsplash strip) or bold statement (e.g., full floor covering).
Top 4 Uses for Herringbone Tile in Homes
Herringbone’s pattern shines in spaces where “detail matters”—here are its most impactful applications:
Kitchen Backsplashes: A narrow strip of herringbone tile (e.g., 3×6-inch subway) behind the stove adds a focal point without overwhelming cabinets or countertops.
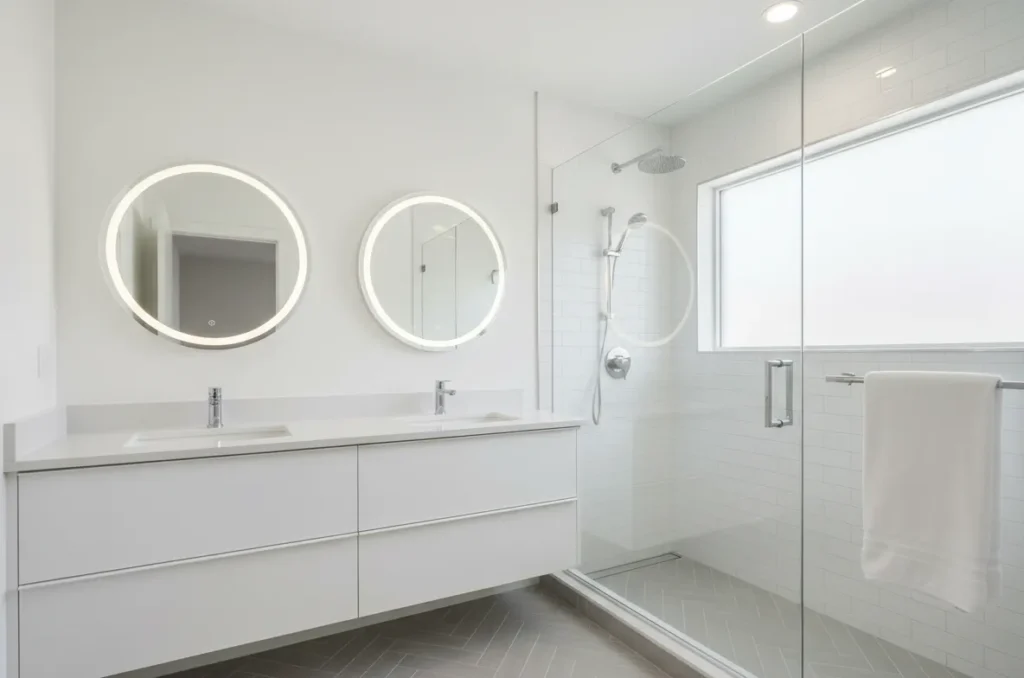
Bathroom Floors/Shower Walls: Small-format herringbone tile (e.g., 2×4-inch porcelain) creates a luxe spa vibe; use light colors to brighten small bathrooms.
Entryway Floors: A herringbone tile “rug” (contrasting color with surrounding flooring) defines the entry and makes a bold first impression for guests.
Accent Walls: Large-format herringbone tile (e.g., 6×12-inch marble-look) on a bedroom or living room wall adds texture without needing extra decor.
How to Choose Herringbone Tile: Key Factors
Herringbone’s pattern requires careful material/pattern choices—follow these tips to avoid missteps:
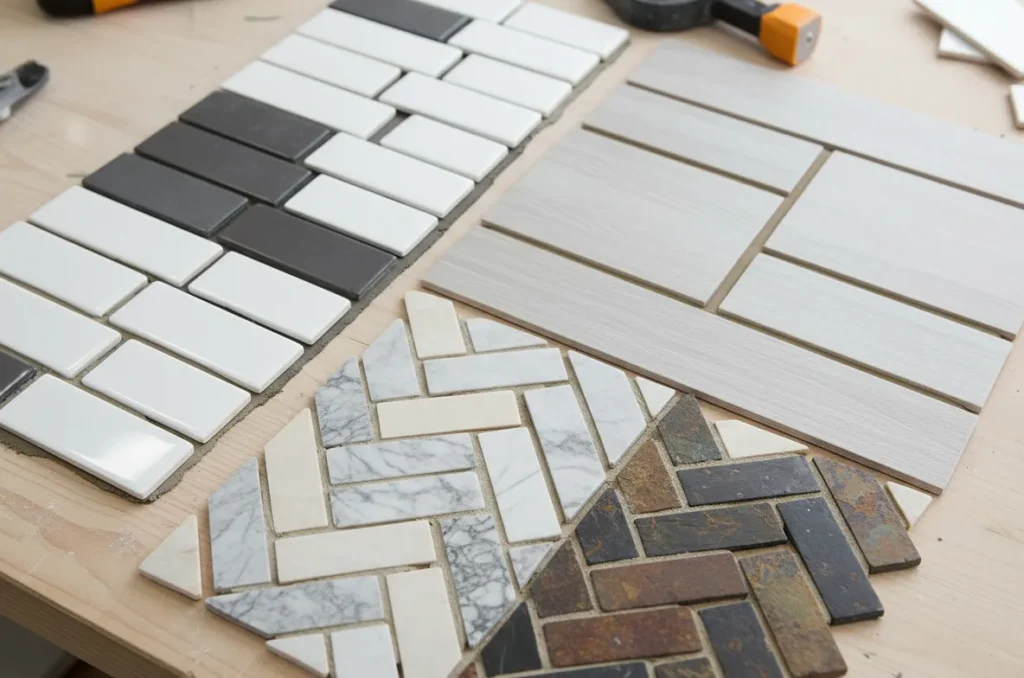
Material: Subway tile (budget-friendly, classic for kitchens); porcelain (durable, waterproof for bathrooms/showers); natural stone (luxury for low-traffic accents like walls).
Size: Small tiles (2×4, 3×6 inches) work for backsplashes/floors (pattern is more defined); large tiles (6×12 inches) for walls (avoids a “busy” look).
Grout Color: Contrast grout (black with white tile) emphasizes the herringbone pattern; matching grout (white with white tile) creates a softer, more subtle effect.
Herringbone Tile Installation Tips (Pro vs. DIY)
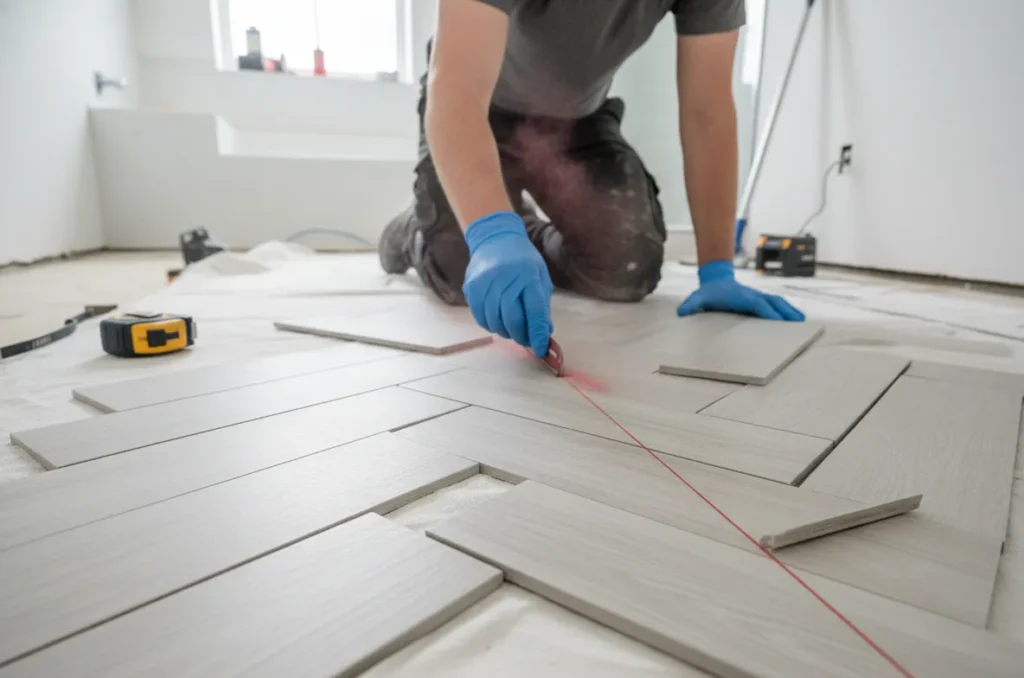
Herringbone’s diagonal pattern is trickier to install than straight-laid tile—here’s how to ensure success:
Plan the Layout: Use a chalk line to mark diagonal guidelines (45 degrees from walls) – ensures tiles align evenly; dry-fit tiles first to test spacing.
Hire a Pro for Large Areas: For full floors/walls, a professional can avoid uneven cuts and misaligned “V” shapes (DIYers may struggle with consistency).
Use Thinset Mortar: Choose a high-quality thinset (not mastic) for adhesion—herringbone tiles have more edges that need secure bonding to prevent lifting.
How to Maintain Herringbone Tile
Maintenance depends on the tile material—but these rules apply to most herringbone installations:
Daily Cleaning: Wipe walls/backsplashes with a damp cloth; sweep floors with a soft broom (avoid pushing dirt into grout lines).
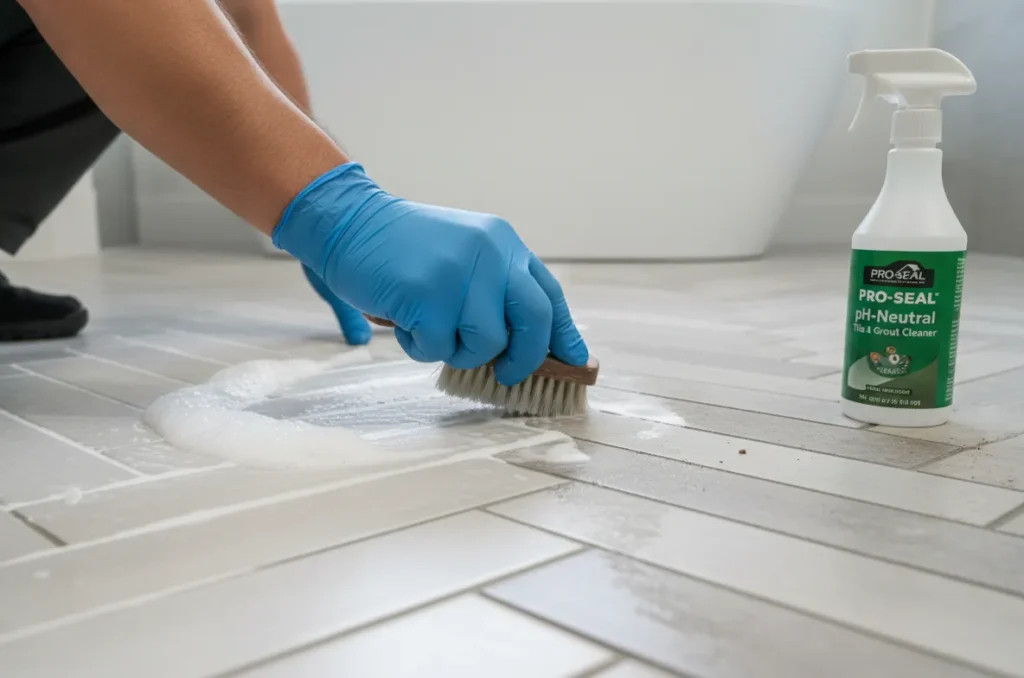
Grout Care: Scrub grout monthly with a pH-neutral cleaner (herringbone has more grout lines than straight tile—consistent cleaning prevents discoloration).
Material-Specific Tips: Porcelain/subway tile: Use mild soap; natural stone: Seal yearly and avoid acidic cleaners (vinegar, lemon) that etch surfaces.
Conclusion
Herringbone tile is a design-forward choice that turns ordinary spaces into standouts. Its versatile pattern works with nearly any style, and its range of materials fits budgets from affordable to luxury. While installation requires precision (or a pro), the result—movement, depth, and modern flair—is worth the effort. Whether you’re adding a subtle backsplash or bold floor, herringbone tile elevates your home’s design.