Introduction: The Budget-Friendly Versatility of Vinyl Tile
Vinyl tile—crafted from synthetic materials (PVC, plasticizers, and resin)—is a practical, affordable option that mimics the look of natural stone, wood, or ceramic. Available in rigid (LVT) and flexible (VCT) varieties, it boasts waterproof properties, scratch resistance, and easy installation, making it ideal for busy families, pet owners, or anyone updating on a budget. Its ability to replicate high-end materials (e.g., hardwood, marble) at a fraction of the cost, paired with low maintenance needs, has made it a top choice for kitchens, bathrooms, and basements.
Top 4 Uses for Vinyl Tile in Homes
Vinyl tile’s durability and water resistance shine in high-traffic, moisture-prone spaces—here are its most practical applications:
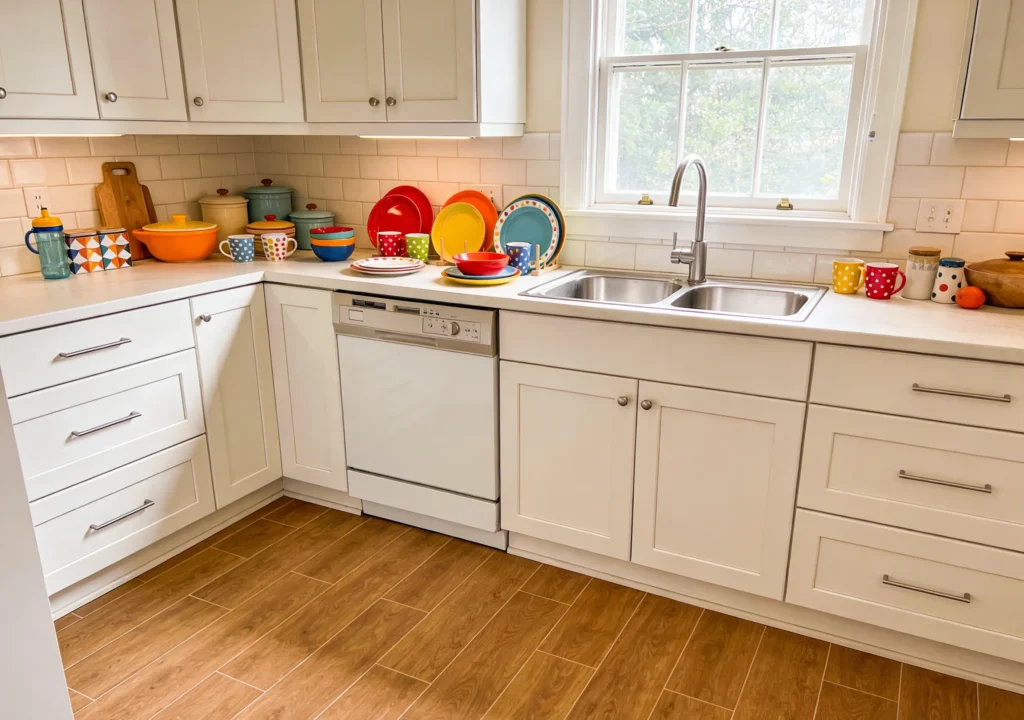
Kitchen Floors: Resists oil spills, dropped utensils, and frequent mopping; wood-look vinyl pairs seamlessly with cabinets and countertops for a cohesive look.
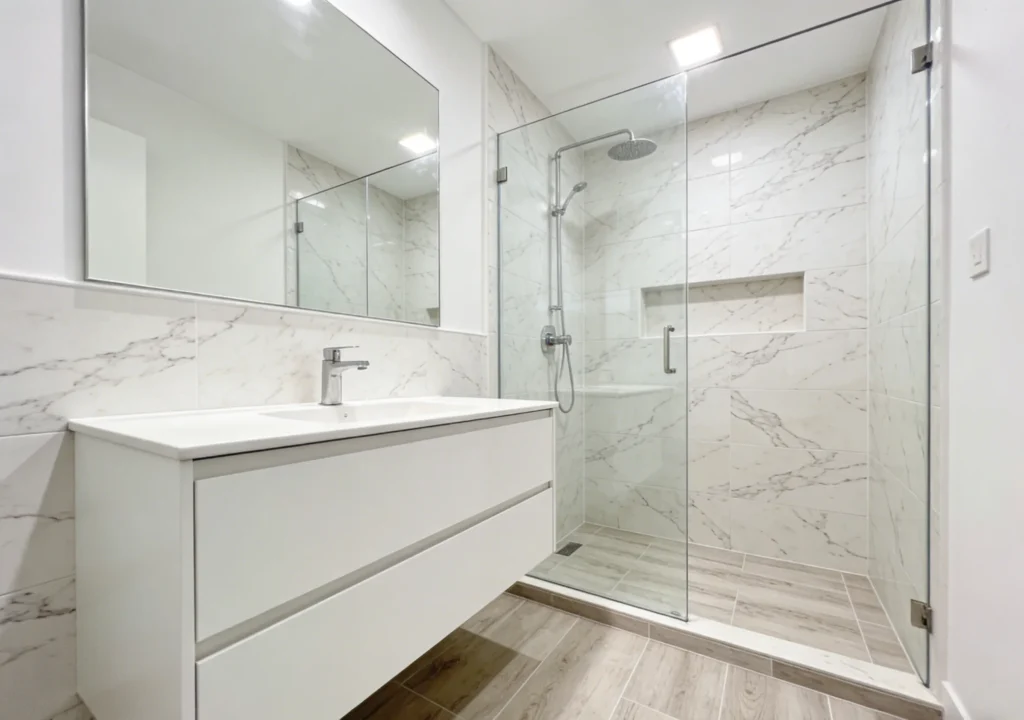
Bathroom Floors/Walls: 100% waterproof (especially LVT) – safe for shower surrounds and bathroom floors, preventing mold and water damage without extra sealing.
Basements: Thrives in damp environments (unlike hardwood); choose rigid vinyl tile to cover uneven concrete floors, adding usable space to basements.
Kids’ Rooms/Playrooms: Scratch-resistant and soft underfoot; opt for bright patterns or neutral tones that hide scuffs from toys and foot traffic.
How to Choose Vinyl Tile: Key Factors
Vinyl tile’s variety requires careful selection to match your space—follow these tips:
Type: LVT (Luxury Vinyl Tile, rigid, waterproof—best for bathrooms/kitchens); VCT (Vinyl Composition Tile, flexible, budget-friendly—ideal for dry spaces like bedrooms).
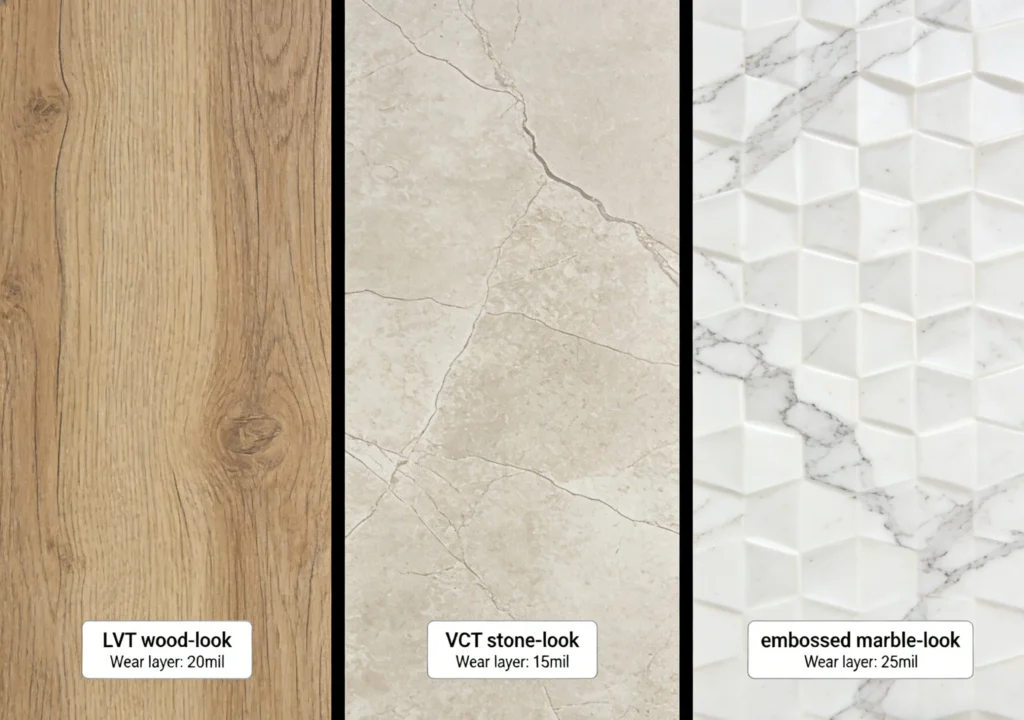
Thickness & Wear Layer: 4–8mm thickness for floors (thicker = more durability); 12–20mil wear layer for high-traffic areas (entryways/kitchens); 6–10mil for low-traffic (bedrooms).
Design Realism: Choose tiles with “embossed in register” texture (matches the printed design, e.g., wood grain or stone veining) for a more authentic look.
Vinyl Tile Installation Tips (DIY-Friendly)
Vinyl tile is one of the easiest tiles to install yourself—here’s how to proceed:
Prepare the Substrate: Ensure floors are clean, dry, and level; fill cracks in concrete with filler (uneven surfaces cause tiles to lift or crack).
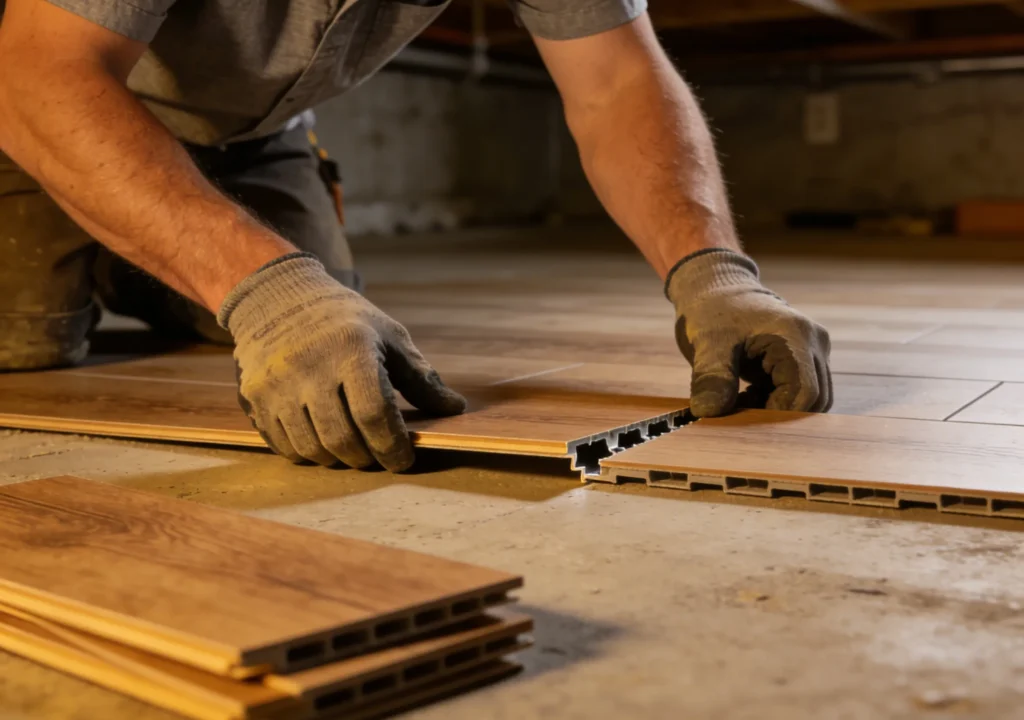
Installation Method: Click-lock LVT (no glue, snaps together—best for DIY); Glue-down VCT (requires vinyl adhesive—better for large spaces, prevents shifting).
Acclimate Tiles: Let vinyl tile sit in the room for 24 hours before installation – adjusts to temperature/humidity, avoiding expansion after laying.
How to Maintain Vinyl Tile (Low Effort)
Vinyl tile’s low-maintenance nature makes it perfect for busy homes—follow these simple rules:
Daily Cleaning: Sweep with a soft broom or vacuum (no beater bar); mop with warm water and mild vinyl cleaner (avoid bleach or abrasive cleaners that damage the surface).
Prevent Damage: Use furniture pads under heavy items; avoid dragging sharp objects (though vinyl resists scratches, sharp tools can cut the surface).
Spot Treat Stains: For tough stains (e.g., ink, wine), use a damp cloth and rubbing alcohol—blot gently, don’t scrub (prevents fading).
Conclusion
Vinyl tile proves that budget-friendly design doesn’t have to sacrifice style or durability. Its waterproof properties, easy installation, and ability to mimic high-end materials make it a smart choice for families, renters, or anyone updating their home on a budget. By choosing the right type (LVT/VCT) for your space, installing it correctly, and keeping up with simple cleaning, vinyl tile will provide practical, long-lasting style for years.