Introduction: The Convenience of Peel and Stick Wall Tile
Peel and stick wall tile has revolutionized DIY home decor, offering a budget-friendly, tool-free way to refresh spaces. Unlike traditional tile that requires grout and professional installation, this self-adhesive option lets anyone update walls in hours—making it ideal for renters, beginners, or anyone wanting a quick refresh. From backsplashes to accent walls, it combines style and simplicity.
Top Uses for Peel and Stick Wall Tile
This versatile tile works in nearly every room—here are the most popular applications:
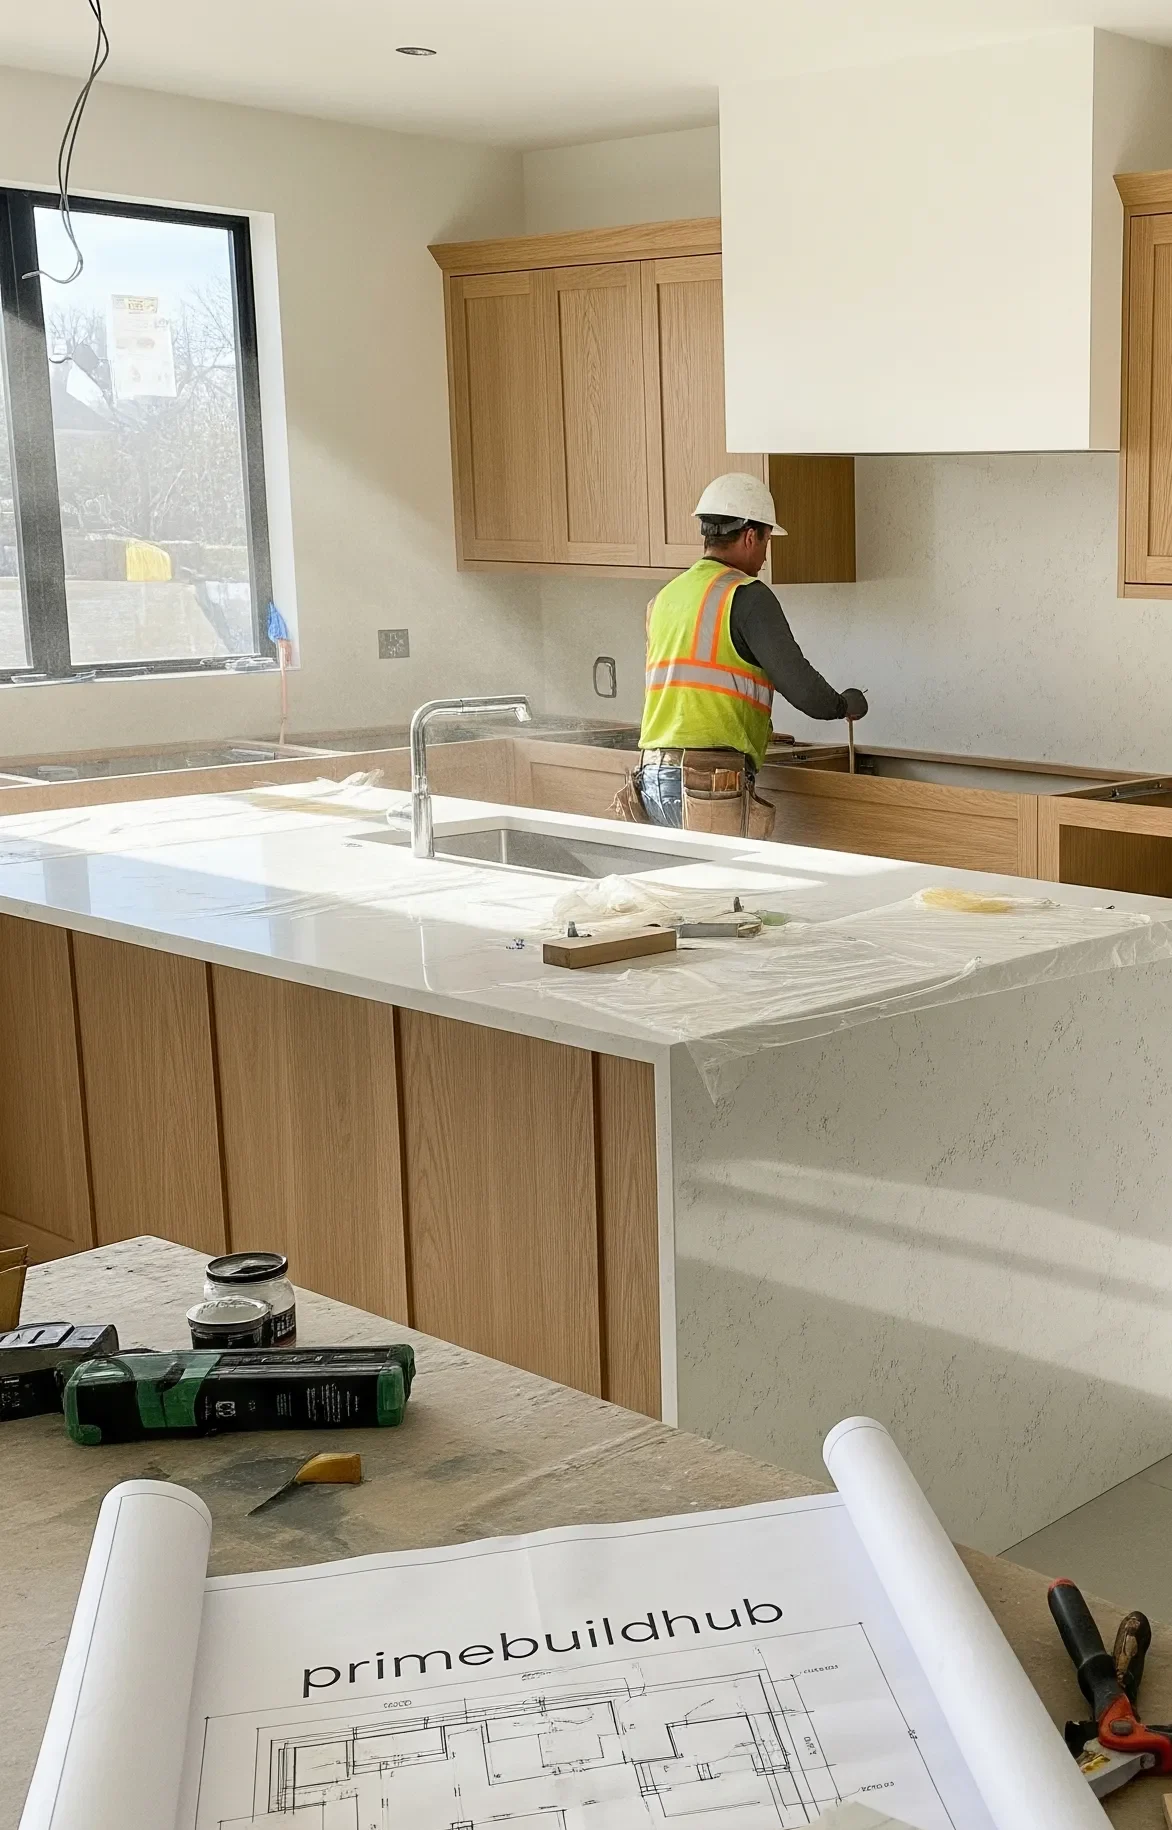
Kitchen Backsplashes: Protect walls behind stoves/sinks without the hassle of grout; easy to wipe clean.
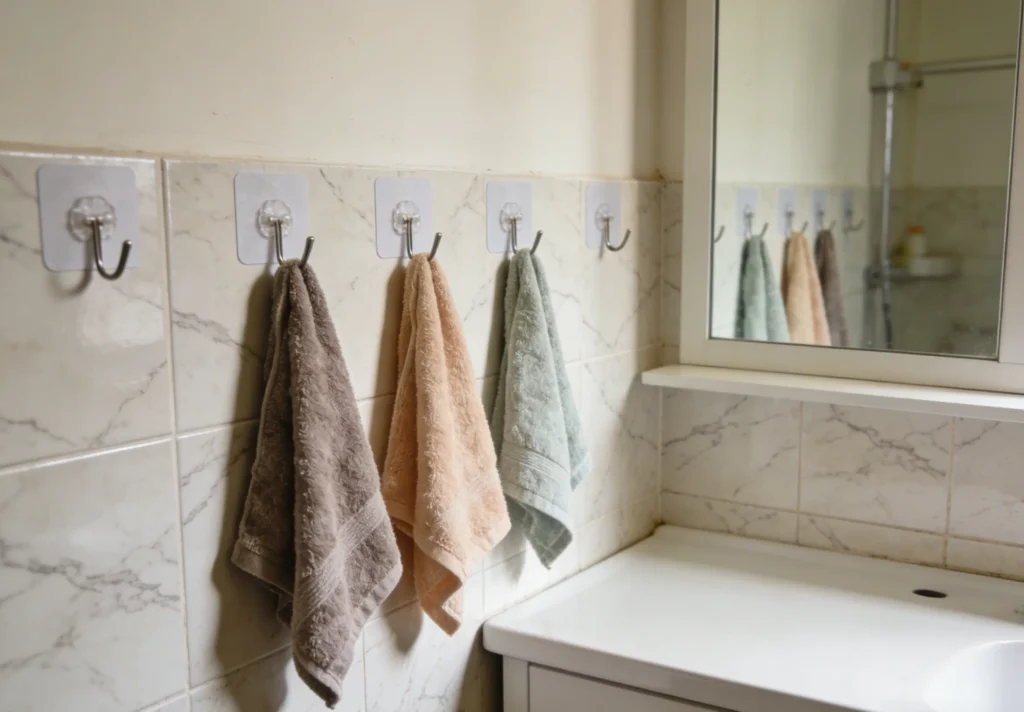
Rental Bathrooms: Add a temporary upgrade to plain walls (no damage when removed) around vanities or mirrors.
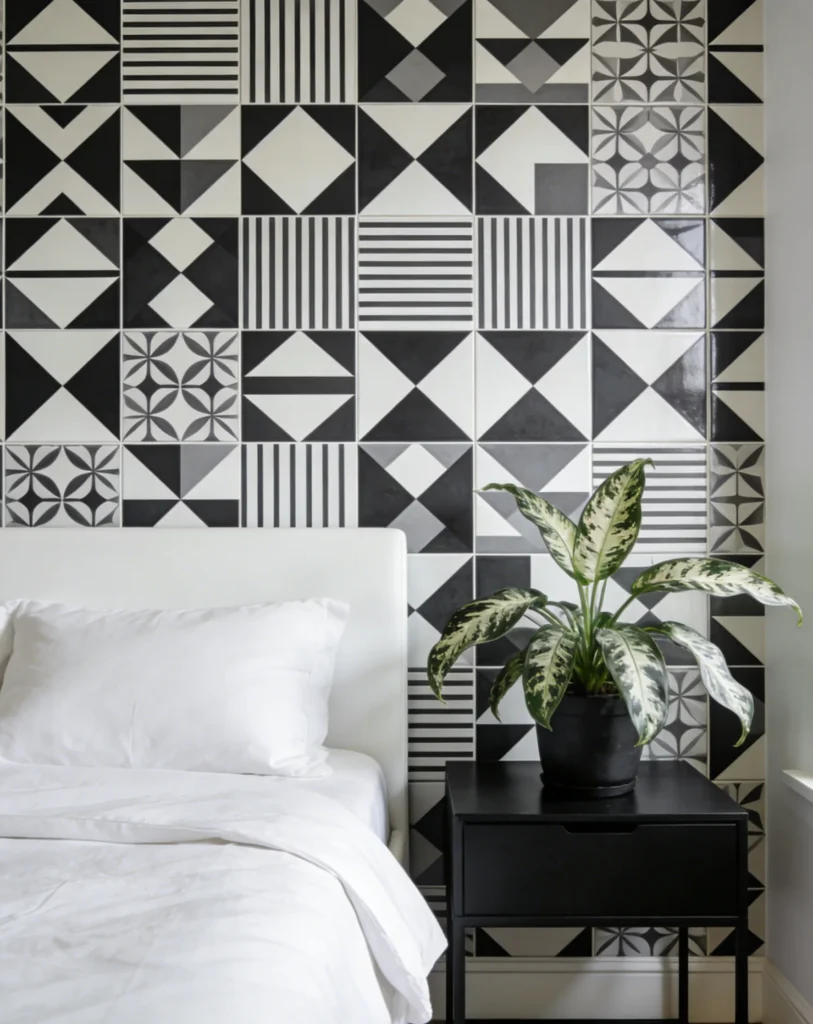
Accent Walls: Create focal points in bedrooms or living rooms with bold patterns (e.g., geometric, marble-look).
Furniture Makeovers: Refresh old dressers or cabinets by applying tile to drawer fronts or cabinet doors.
How to Choose the Right Peel and Stick Wall Tile
Not all peel and stick tiles are the same—follow these tips to pick the best one:
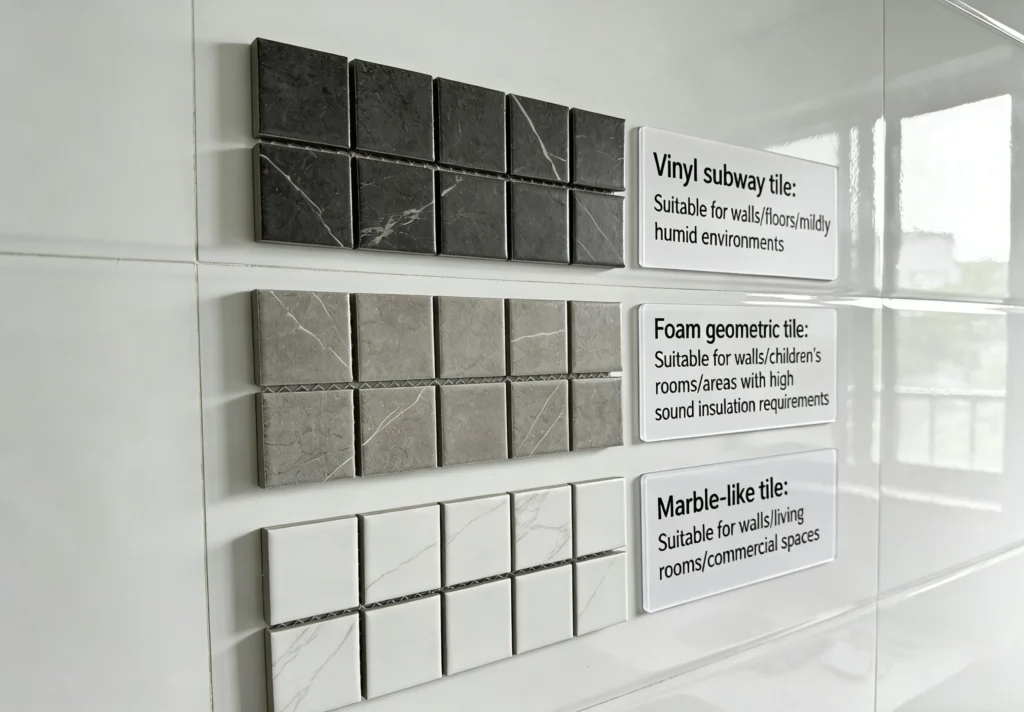
Material: Vinyl tiles are water-resistant (great for kitchens/bathrooms); foam tiles add texture but are less durable.
Adhesion Strength: Look for tiles with acrylic adhesive (better for smooth surfaces) and check reviews for long-term stickiness.
Surface Compatibility: Ensure your wall is smooth, clean, and dry—rough or textured walls may cause tiles to peel.
Pattern/Color: Opt for neutral tones (white, gray) for timelessness, or bold prints for temporary statement walls.
Step-by-Step Installation Guide
Installing peel and stick wall tile is simple—follow these 5 steps:
Prepare the Wall: Clean with soap and water, dry completely, and sand any rough spots.
Measure and Mark: Use a level and pencil to mark straight lines—this ensures tiles align evenly.
Peel and Stick: Remove the backing paper (start from the top corner) and press firmly onto the wall, smoothing out bubbles with a roller.
Cut Tiles (If Needed): Use a utility knife or scissors to trim tiles for edges or outlets—measure twice before cutting.
Seal (Optional): For wet areas (e.g., shower surrounds), apply a clear silicone sealant along edges to prevent water damage.
Maintenance & Common FAQs
Keep your peel and stick tile looking new, and solve common issues:
Cleaning: Wipe with a damp cloth and mild soap—avoid harsh chemicals (e.g., bleach) that can fade or damage tiles.
Peeling Tiles: If a tile starts to lift, reapply pressure or use a small amount of double-sided tape for extra adhesion.
Removal: To remove without damage, heat tiles with a hair dryer (softens adhesive) and peel slowly from the corner.
Durability: With proper care, vinyl tiles can last 3–5 years in low-traffic areas; avoid heavy moisture (e.g., direct shower spray).
Conclusion
Peel and stick wall tile is the ultimate DIY solution for quick, affordable home updates. Whether you’re a renter wanting to personalize your space, a beginner DIYer, or someone short on time, it offers style without the commitment of traditional tile. With the right selection and installation, it can transform any room in hours—no tools or professionals required.